Cloud9
Cloud9 combines a powerful online code editor with a full Ubuntu workspace in the cloud. Workspaces are powered by Docker Ubuntu containers that give you full freedom over your environment, including sudo rights. Do a git push, compile SASS, see server output, and Run apps easily with the built-in Terminal and Runners.
Note
Please make sure to read Remote Development guide first.
You need PlatformIO Account if you don’t have it. Registration is FREE.
You should have a running PlatformIO Remote Agent on a remote machine where hardware devices are connected physically or accessible for the remote operations. See Remote Development Quick Start for details.
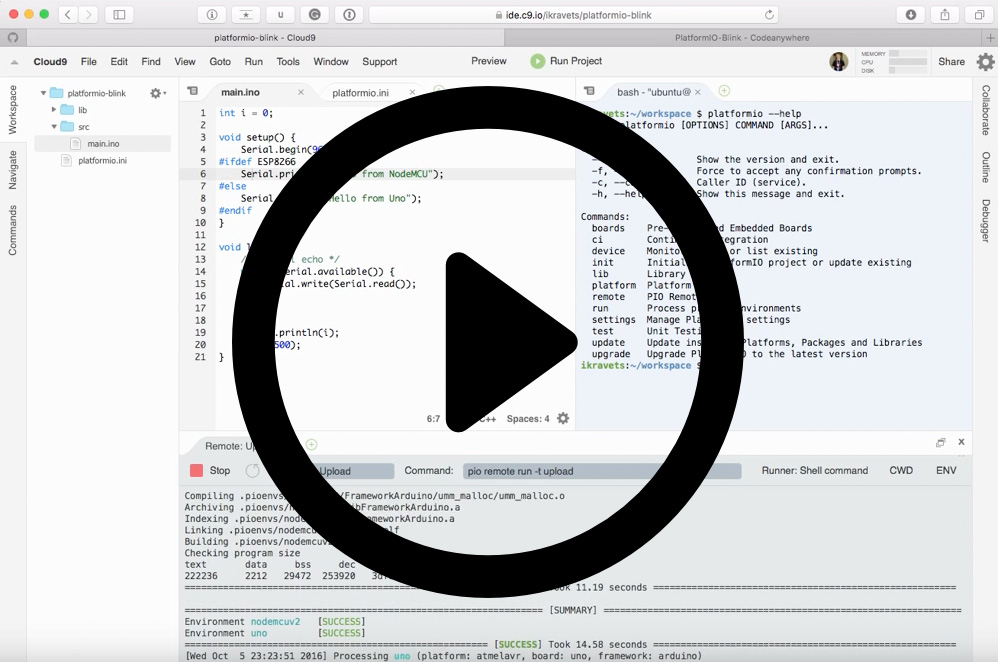
Demo
Integration
Sign in to Cloud9. A registration is FREE and gives you for FREE 1 private workspace (where you can host multiple PlatformIO Projects) and unlimited public workspaces.
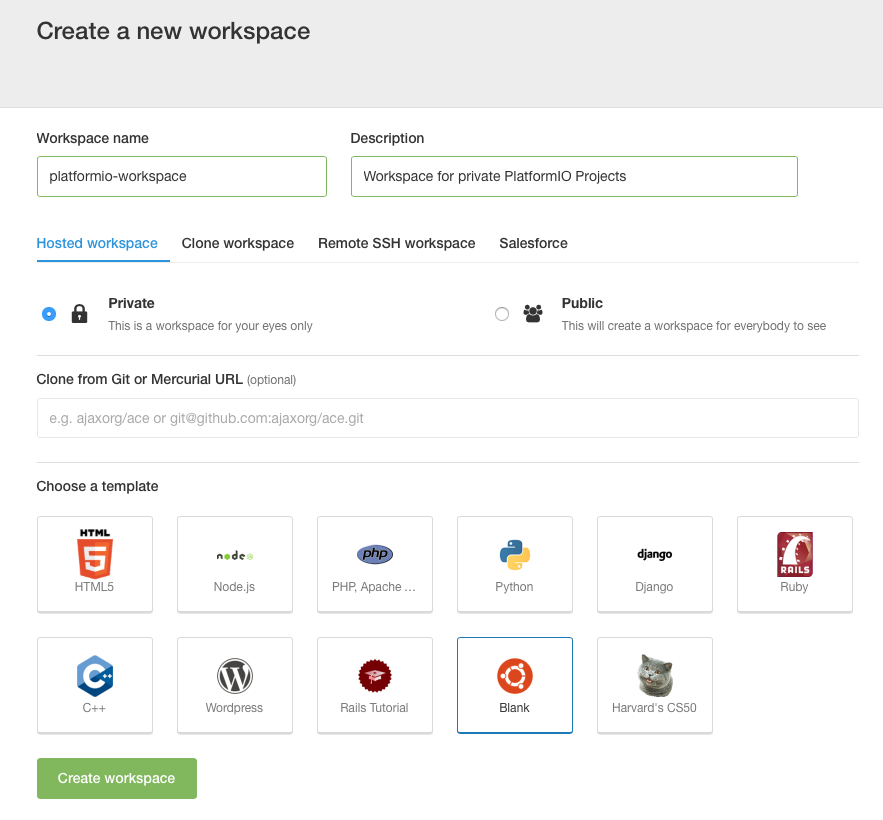
Create a new workspace using Blank template
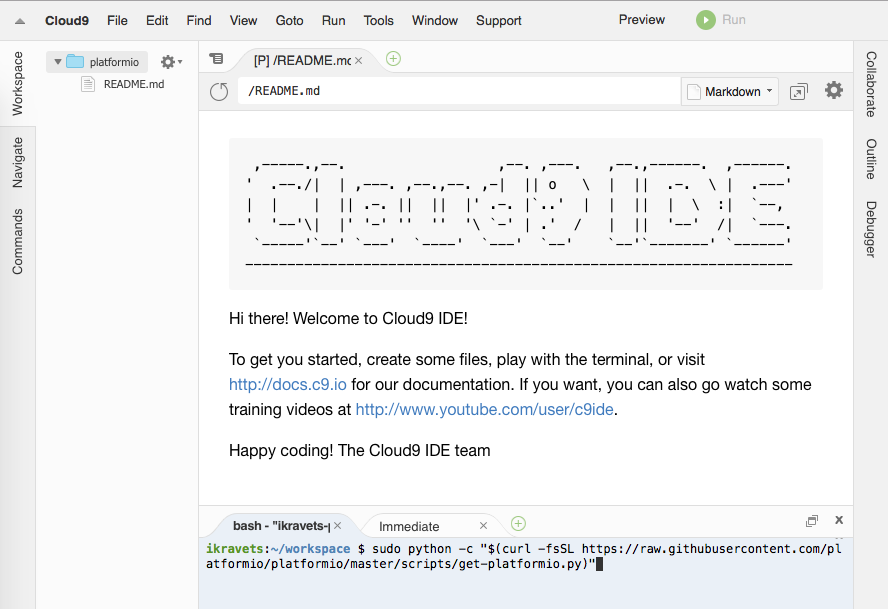
Install PlatformIO Core (CLI) using Cloud IDE Terminal. Paste a next command
sudo python -c "$(curl -fsSL https://raw.githubusercontent.com/platformio/platformio/develop/scripts/get-platformio.py)"
Log in to PlatformIO Account using pio account login command.
Quick Start
Let’s create our first PlatformIO-based Cloud9 Project
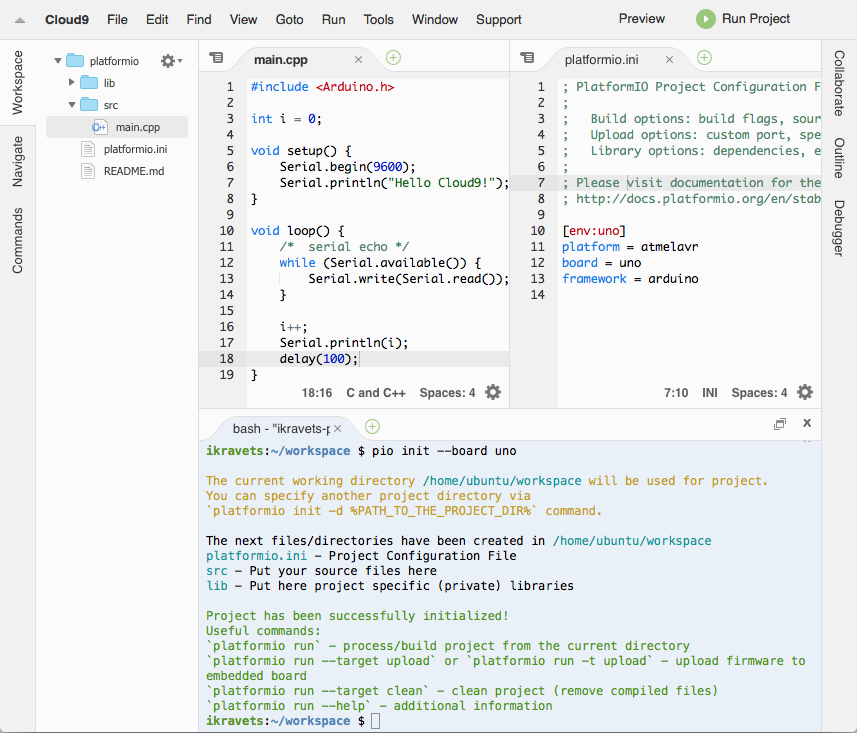
Initialize new PlatformIO-based Project. Run a next command in Cloud IDE Terminal:
pio project init --board <ID>

# initialize project for Arduino Uno
pio project init --board uno
To get board
IDplease use pio boards command or Embedded Boards Explorer.Create new source file named
main.cppinsrcfolder using Project Tree (left side). Please make right click onsrcfolder, then “New File” and insert a next content:#include <Arduino.h> int i = 0; void setup() { Serial.begin(9600); Serial.println("Hello Cloud9!"); } void loop() { /* serial echo */ while (Serial.available()) { Serial.write(Serial.read()); } i++; Serial.println(i); delay(100); }
If you prefer to work with PlatformIO Core (CLI) CLI, then you can process project using Cloud IDE Terminal and the next commands:
pio run - build project locally (using Cloud IDE’s virtual machine)
pio run -t clean - clean project
pio remote run -t upload - upload firmware (program) to a remote device
pio remote device list - list available remote devices
pio remote device monitor - Remote Serial Port Monitor
If you are interested in better integration with Cloud9 and GUI, please read guide below where we will explain how to create custom Build System for PlatformIO and own Runners.
PlatformIO Build System
Cloud9 allows one to create own build system and use hotkey or command (Menu: Run > Build) to build a project.
Let’s create PlatformIO Build System that will be used for C/C++/H/INO/PDE
files by default. Please click on Menu: Run > Build System > New Build System
and replace all content with the next:
{
    "cmd" : ["pio", "run", "-d", "$file"],
    "info" : "Building $project_path/$file_name",
    "selector": "^.*\\.(cpp|c|h|hpp|S|ini|ino|pde)$"
}
Save new Build System and give a name PIOBuilder. Now, you can select it
as default Build System using Menu: Run > Build System > PIOBuilder.
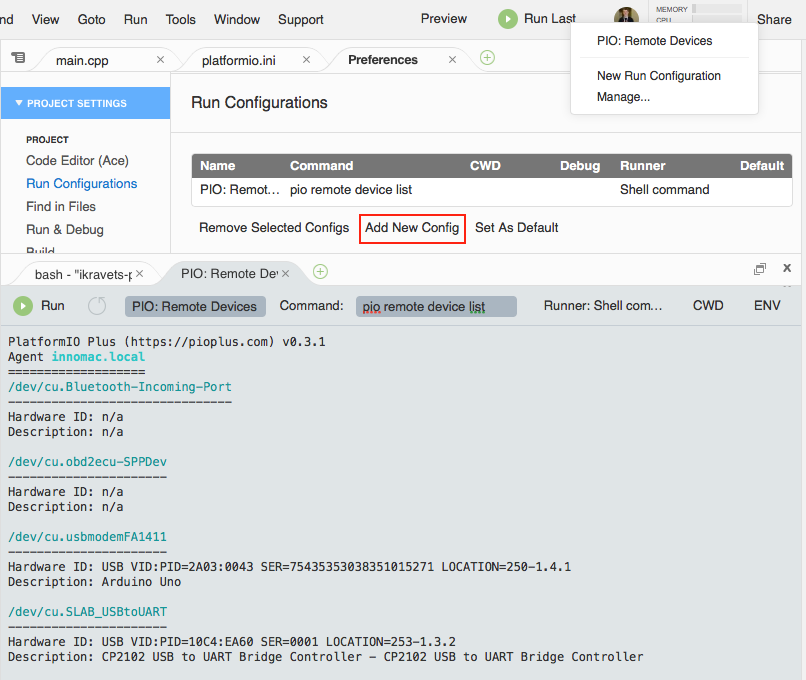
Remote Device Manager
Remote Device Manager works in pair with Remote Development. You can list remote devices that are connected to host machine where PlatformIO Remote Agent is started or are visible for it.
Let’s create New Run Configuration (shortcut) that will be used for Remote Device Manager.
Please click on Menu: Run > Run Configurations > Manage..., then
“Add New Config” and specify the next values:
First Blank Input: a name of runner. Please set it to “PIO: Remote Devices”
Command: set to
pio remote device listRunner: set to “Shell command”
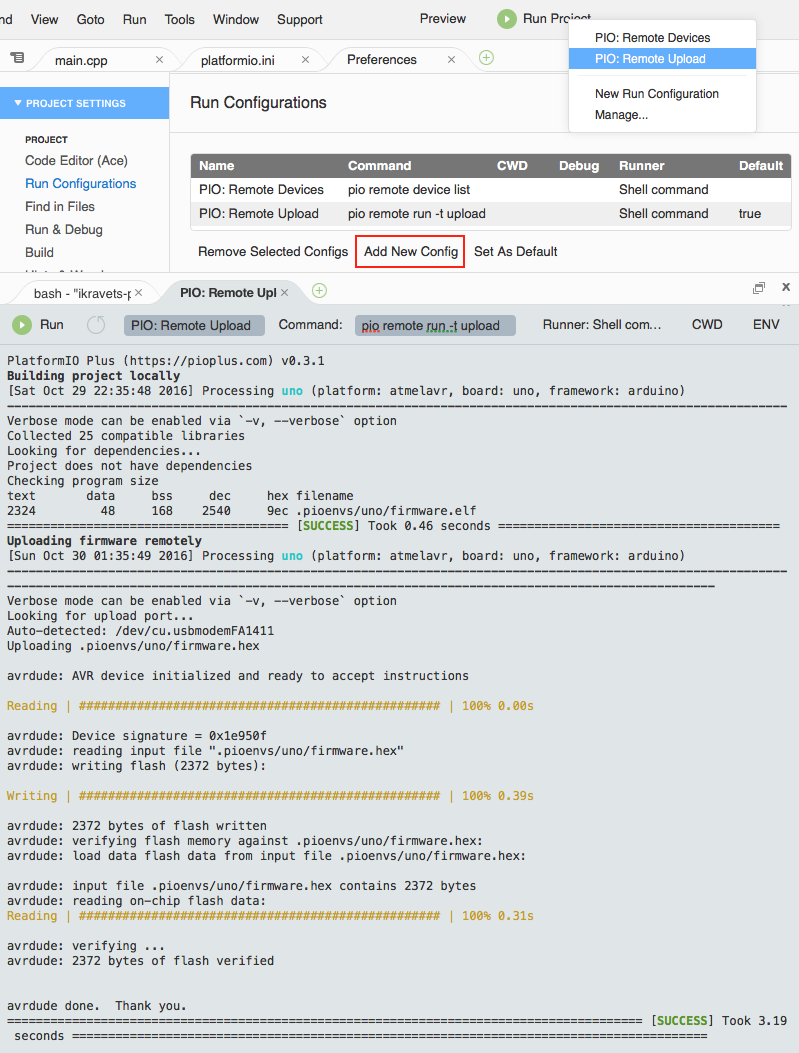
Remote Firmware Uploading
Remote Firmware Uploading works in pair with Remote Development. You can deploy firmware (program) to any devices which are visible for PlatformIO Remote Agent.
Let’s create New Run Configuration (shortcut) that will be used for Remote Firmware Uploading.
Please click on Menu: Run > Run Configurations > Manage..., then
“Add New Config” and specify the next values:
First Blank Input: a name of runner. Please set it to “PIO: Remote Upload”
Command: set to
pio remote run -t uploadRunner: set to “Shell command”
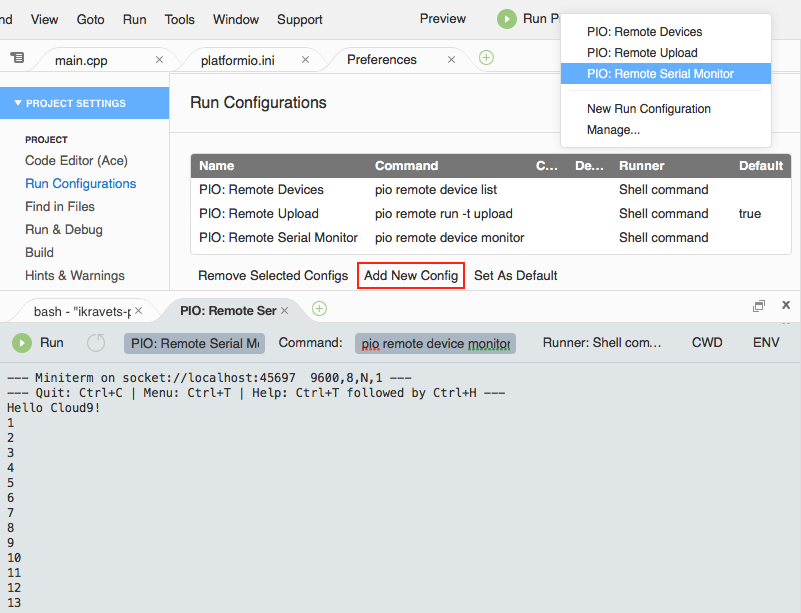
Remote Serial Port Monitor
Remote Serial Port Monitor works in pair with Remote Development. You can read or send data to any device that is connected to host machine where PlatformIO Remote Agent is started. To list active agents please use this command pio remote agent list.
Let’s create New Run Configuration (shortcut) that will be used for Remote Serial Port Monitor.
Please click on Menu: Run > Run Configurations > Manage..., then
“Add New Config” and specify the next values:
First Blank Input: a name of runner. Please set it to “PIO: Remote Serial Monitor”
Command: set to
pio remote device monitorRunner: set to “Shell command”
Multi-Project workspace
You can have multiple PlatformIO-based Projects in the same workspace. We recommend a next folders structure:
├── project-A
│   ├── lib
│   │   └── README
│   ├── platformio.ini
│   └── src
│       └── main.ino
└── project-B
    ├── lib
    │   └── README
    ├── platformio.ini
    └── src
        ├── main.cpp
        └── main.h
In this case, you need to create 2 “New Run Configuration” for Remote Firmware Uploading with using the next commands:
pio remote run --project-dir project-A -t uploadfor Project-Apio remote run -d project-B -t uploadfor Project-B
See documentation for pio remote run --project-dir option.