Eclipse Che
Eclipse Che is an open-source Java based developer workspace server and cloud integrated development environment (IDE) which provides a remote development platform for multi-user purpose. The workspace server comes with a RESTful webservice and provides high flexibility. It also contains a SDK which can be used to create plug-ins for languages, frameworks or tools.
Note
Please make sure to read Remote Development guide first.
You need PlatformIO Account if you don’t have it. Registration is FREE.
You should have a running PlatformIO Remote Agent on a remote machine where hardware devices are connected physically or accessible for the remote operations. See Remote Development Quick Start for details.
Demo
Integration
Sign in to Codenvy (based on Eclipse Che). A registration is FREE and gives you unlimited private projects.
Open Workspaces tab
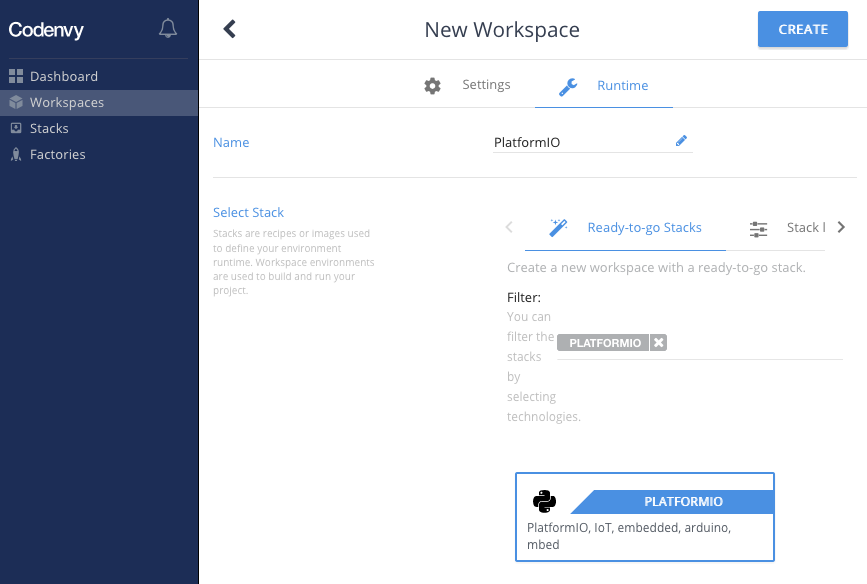
Click on “Add Workspace”, then switch to “Runtime” tab.
Name set to “PlatformIO”
Stack search for
PLATFORMIOClick on “Create” button, then “Open”.
Using opened Terminal, please log in to PlatformIO Account using pio account login command.
Quick Start
Let’s create our first PlatformIO-based Codenvy Project
Click on
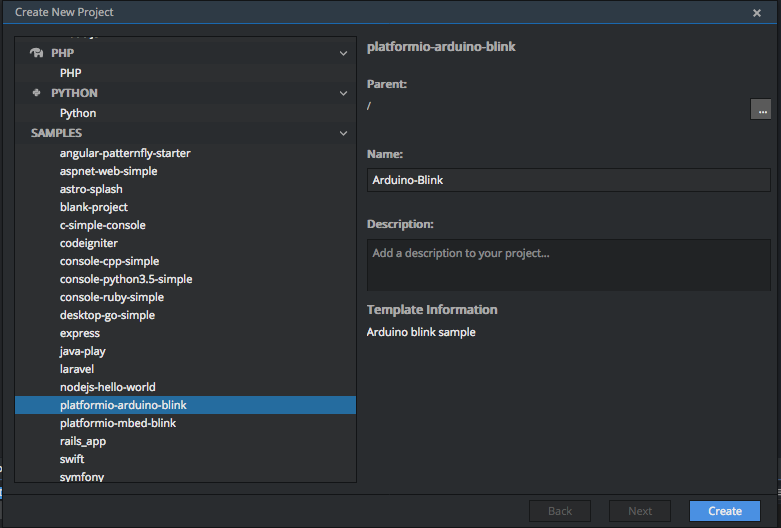
Menu: Workspace > Create New Projectand selectplatformio-arduino-blinksample. Set “Name” to “Arduino Blink” and press “Create”.
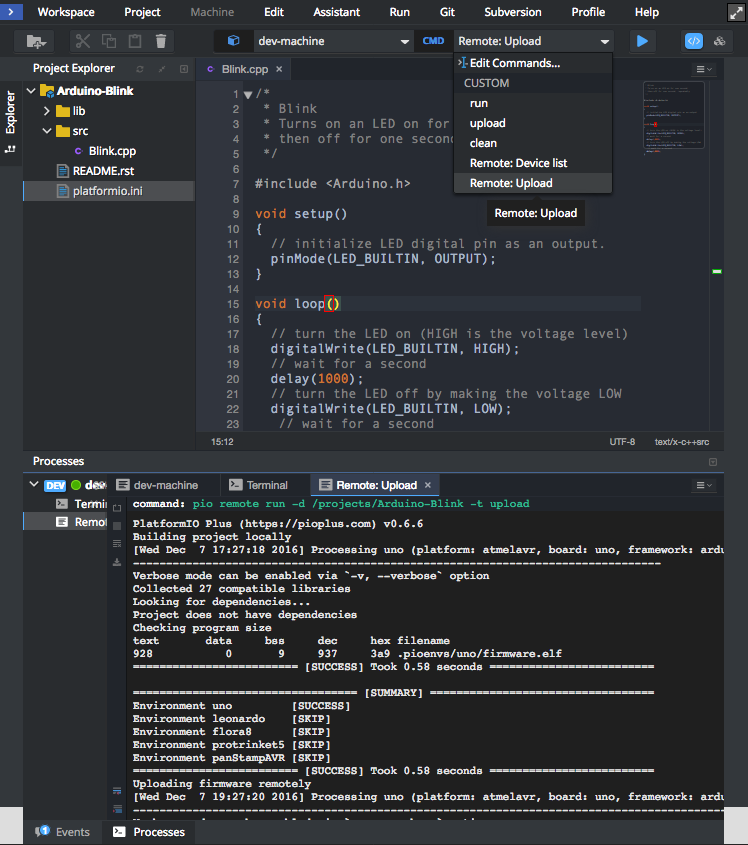
Now you can use dropdown Commands menu and process project with “run” command
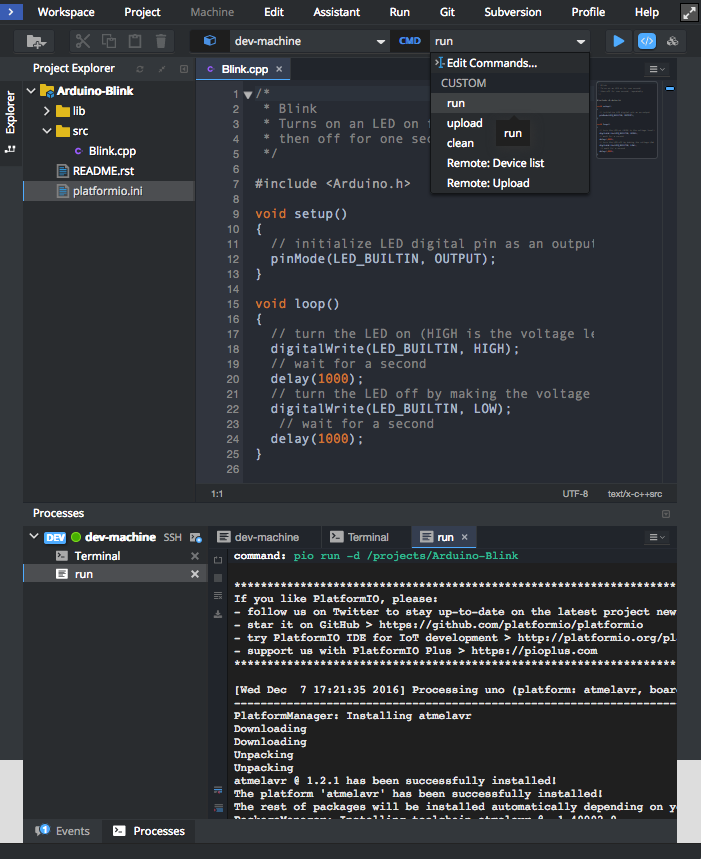
If you prefer to work with PlatformIO Core (CLI) CLI, then you can process project using Cloud IDE Terminal and the next commands:
pio run - build project locally (using Cloud IDE’s virtual machine)
pio run -t clean - clean project
pio remote run -t upload - upload firmware (program) to a remote device
pio remote device list - list available remote devices
pio remote device monitor - Remote Serial Port Monitor
Multi-Project workspace
You can have multiple PlatformIO-based Projects in the same workspace. We recommend a next folders structure:
├── project-A
│   ├── lib
│   │   └── README
│   ├── platformio.ini
│   └── src
│       └── main.ino
└── project-B
    ├── lib
    │   └── README
    ├── platformio.ini
    └── src
        ├── main.cpp
        └── main.h
In this case, you need to use -d, --project-dir option for pio run
or pio remote run commands:
pio remote run --project-dir project-A -t uploadbuild Project-Apio remote run --project-dir project-A -t uploadremote firmware uploadingusing Project-A
pio remote run -d project-B -t uploadremote firmware (program) uploadingusing Project-B
See documentation for pio remote run --project-dir option.